
AODD Pump Diaphragm Life: When to Replace & How
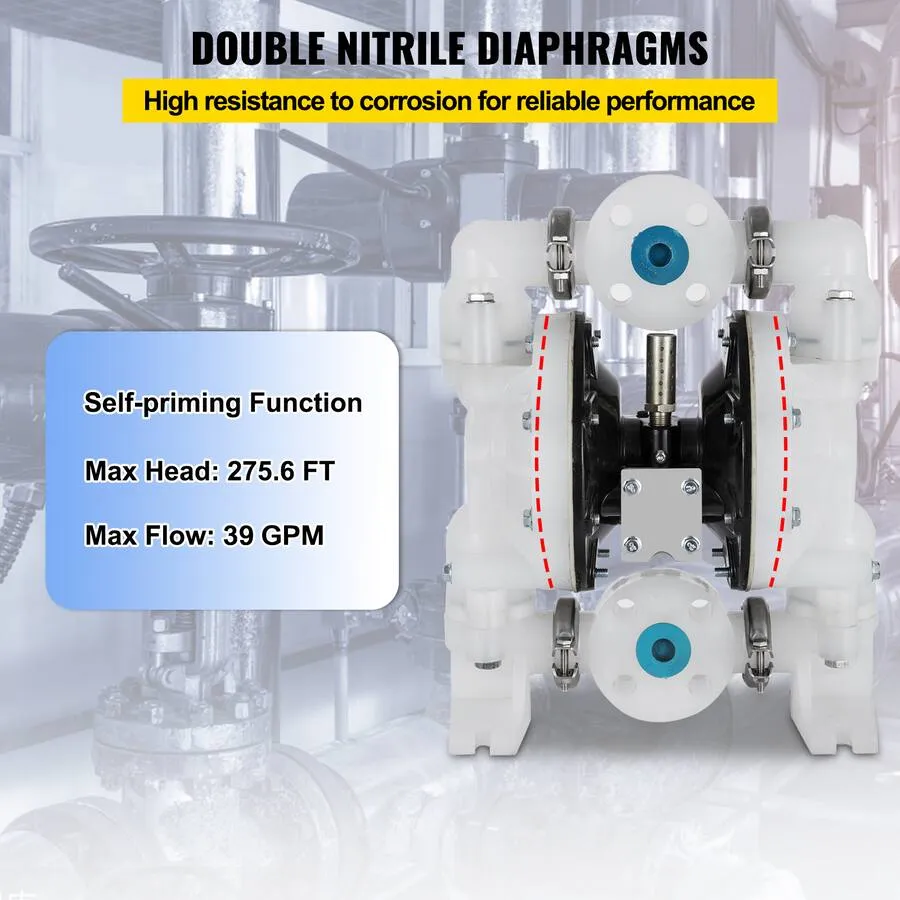
The diaphragm is the heart of an AODD pump — and its only true wear part. Knowing when to replace it is the difference between planned maintenance and unplanned downtime.
Why the Diaphragm Is the #1 Wear Part
Every AODD pump stroke flexes the diaphragm. Over time, that flexing — combined with chemical attack, temperature and abrasion — fatigues the material. Unlike a mechanical seal, which fails suddenly, a diaphragm fails progressively: you can see it coming if you know what to look for.
The diaphragm also does double duty: it separates the air side from the fluid side. When it fails, the consequences are immediate — fluid floods the air side, and the air valve is often next in line for damage.
Typical Diaphragm Lifespan by Service
| Service Condition | Typical Life | Examples |
|---|---|---|
| Aggressive chemical (corrosive, continuous) | 3-6 months | Acids, solvents, plating baths |
| Moderate chemical | 6-12 months | Dilute acids, water treatment |
| Abrasive slurry | 3-9 months | Mining pulp, ceramic slip |
| Light water / general service | 12-24 months | Clean water, mild fluids |
| Intermittent light duty | 24-36 months | Occasional transfer |
These are guidelines, not guarantees. The real variable is how the diaphragm is used — pressure, stroke rate and media aggressiveness dominate.
Diaphragm Life by Material
| Material | Flex Life | Chemical Resistance | Weak Point |
|---|---|---|---|
| Santoprene (TPV) | Excellent | Good (water, mild chems) | Fails fast in solvents |
| EPDM | Excellent | Good (water, mild acids) | Poor oil/solvent resistance |
| Neoprene | Very good | Fair (oils, abrasives) | Moderate chemical range |
| Viton / FKM | Good | Excellent (solvents, fuels) | Cost; moderate flex life |
| PTFE (overlay) | Good | Excellent (chemicals) | Permeation in halogens |
| PTFE (one-piece) | Fair-good | Maximum | Stiffer; permeation-resistant but heavier stroke |
Signs Your Diaphragm Is Failing
- Flow drops — the first sign. The diaphragm flexes less as it fatigues.
- Pump stalls more often — a weakening diaphragm can't complete strokes reliably.
- Erratic cycling — uneven stroke timing.
- Fluid in the air exhaust — the definitive sign of rupture. Stop the pump immediately.
- Visible cracking or blistering — inspect during routine maintenance; blistering is common on overlay PTFE in permeation-prone service.
- Air consumption rises — a leaking diaphragm wastes air even before it fully ruptures.
The 5-10% Flow Rule
Industry practice (Spraying Systems/CYCO-style monitoring) uses flow degradation as the trigger: when flow drops 5-10% from baseline, schedule replacement; at >10%, replace now. If you track pump output, you'll catch diaphragm wear before it becomes a rupture — turning emergency maintenance into planned maintenance.
Step-by-Step Diaphragm Replacement
- Isolate and depressurize — close the air supply, vent the air line, and close or drain the fluid lines.
- Remove the outer manifold — unbolt the fluid-side manifold to access the diaphragm chamber (torque marks matter for reassembly).
- Remove the old diaphragm — undo the center bolt; note the orientation and any spacer/washer stack.
- Inspect the chamber — look for scoring, corrosion or debris that damaged the old diaphragm.
- Fit the new diaphragm — align it exactly as the old one (material direction matters on PTFE), reinstall washers and center bolt to spec torque.
- Repeat for the other side — always replace both diaphragms, even if only one failed.
- Reassemble and test — bolt the manifold back, restore air, and test cycle at low pressure before full duty.
Pro tip: always replace both diaphragms together. The surviving one is usually near end-of-life too — replacing both halves the next maintenance event.
How to Extend Diaphragm Life
- Match the material to the chemistry — see our Material Selection Guide.
- Use one-piece PTFE for permeation-prone service — halogens and small solvents blister overlay designs.
- Don't overspeed — running at 100% stroke rate all day shortens flex life. A slower cycle on a properly sized pump lasts longer.
- Keep air clean and dry — an FRL unit protects the whole pump, including the diaphragm.
- Avoid deadheading — running against a closed discharge stresses the diaphragm.
- Control temperature — hot media accelerates every failure mode.
Diaphragm Replacement Kit Contents
A standard diaphragm kit includes: two diaphragms (PTFE or elastomer), backup diaphragms where applicable, valve balls, valve seats and gaskets — everything for a fluid-section rebuild in one SKU. Keep one kit per pump in your spares locker; it's the cheapest insurance you'll buy.
OEM-Compatible Replacement Diaphragms
We supply replacement diaphragms cross-referenced to major AODD brands — Wilden (02-1010-52, 04-1010-52, 08-1010-52 and more), ARO (94615-A, 94004-A), Sandpiper (286-096-600, 286-116-000) and Graco Husky (15B492). Confirm your pump model before ordering — see our Diaphragms page for the full reference table.
FAQ
How often should I replace AODD pump diaphragms? Every 3-6 months in aggressive chemical service, 12-24 months in light service. Track flow and replace at the 5-10% drop threshold.
Can I replace just one diaphragm? You can, but we recommend always replacing both — the survivor is usually near end-of-life and doubles your maintenance events.
How do I know if my diaphragm is the wrong material? Fast failure (weeks), blistering, swelling or cracking are all signs of chemical incompatibility. Match the material to the media.
What's an overlay vs one-piece PTFE diaphragm? Overlay = PTFE layer bonded to an elastomer backing (flexible, permeation-prone). One-piece = solid PTFE (maximum chemical resistance, better for halogens).
Does running dry damage the diaphragm? Dry running itself doesn't harm a diaphragm — AODD pumps are dry-run safe. But running dry for long periods on abrasive media can wear it faster.
Need Replacement Diaphragms?
Send your pump brand, model and part number — we'll confirm the compatible diaphragm and kit within 24 hours.